Whether you want to organize your day-to-day life a little better or are just want to know what day of the week your birthday falls on, the Calendar on your Mac can help you out. As with a lot of Apple software, your Calendar is synced with all your devices through iCloud as long as they are all signed into the same Apple ID.
- How to add a calendar on Mac
- How to add an event to a calendar on Mac
- How to set days per week and start of week in Calendar on Mac
- How to set notifications in Calendar on Mac
- How to enable and disable calendars on Mac
How to add a calendar on Mac
In the Calendar app, you can see and view multiple calendars making it easy to differentiate your work meetings and appointments from your personal engagements and events. No matter how busy your life gets, you can add as many calendars as you want.
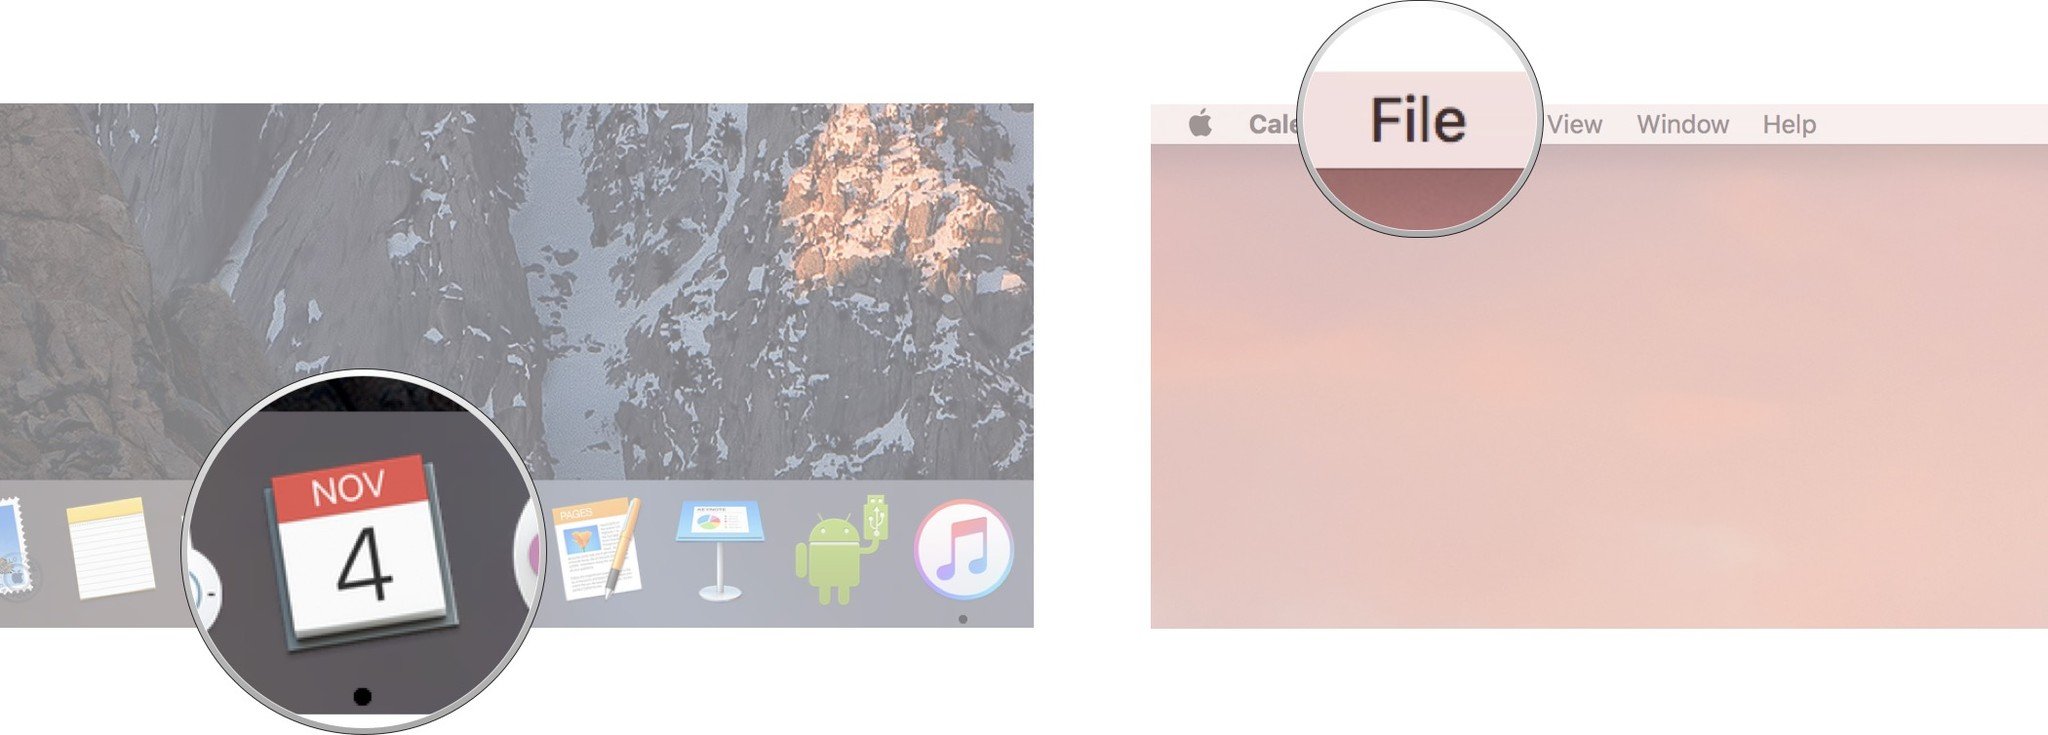
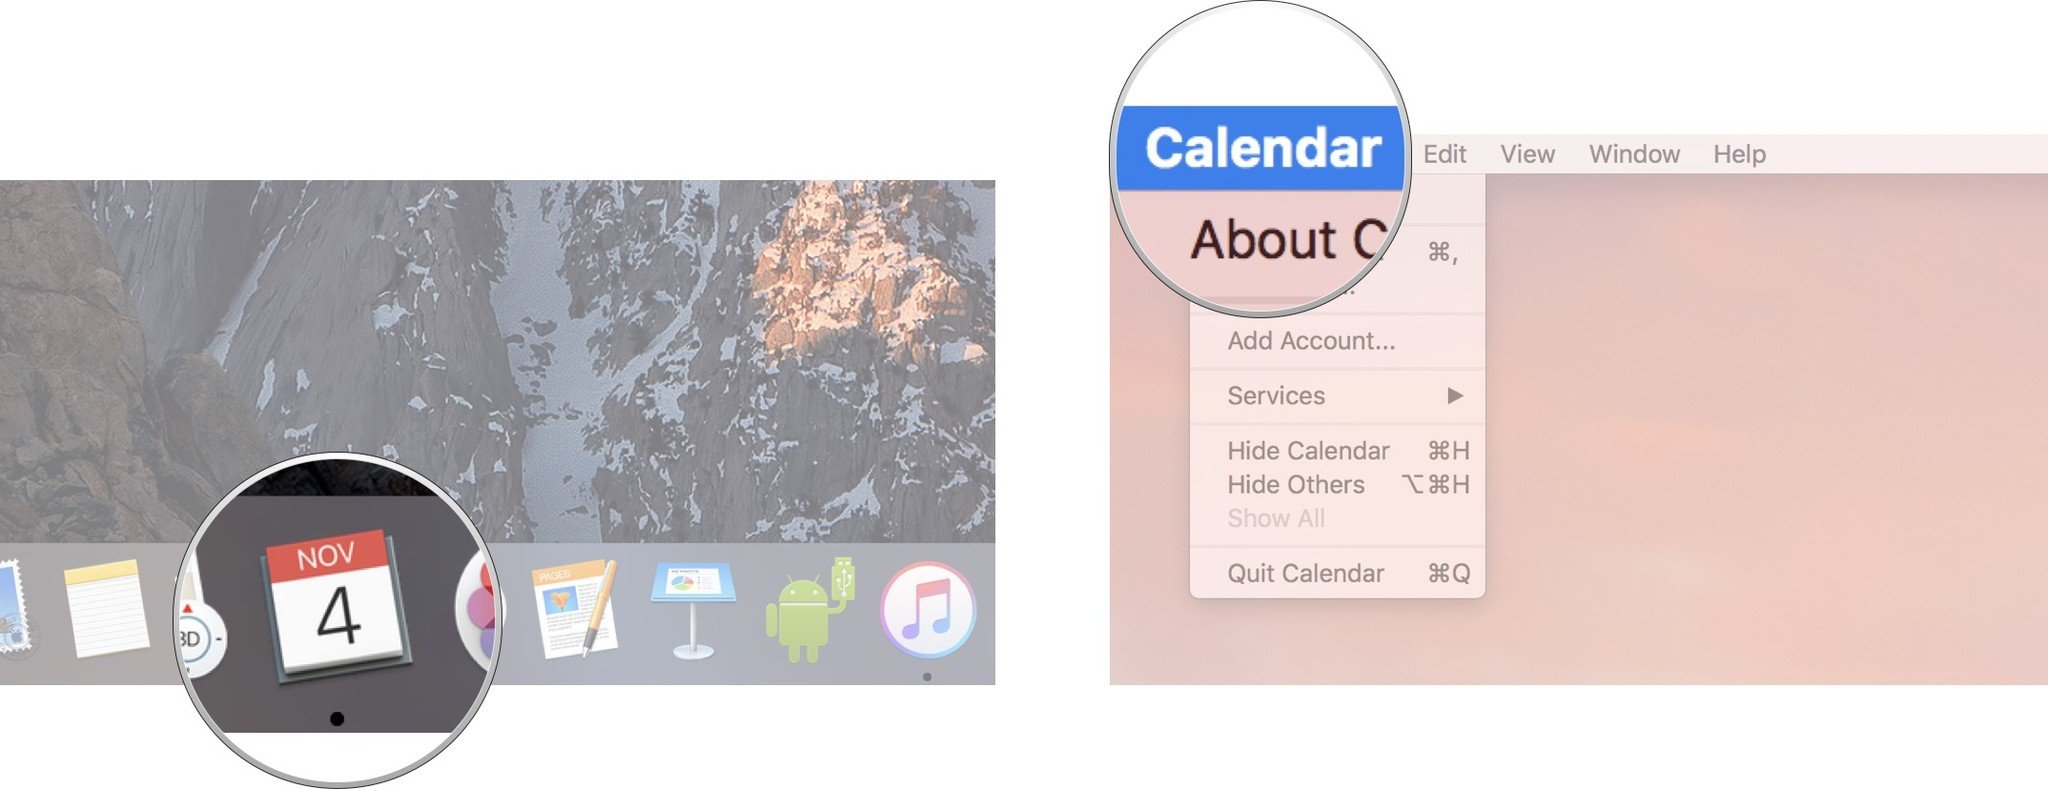
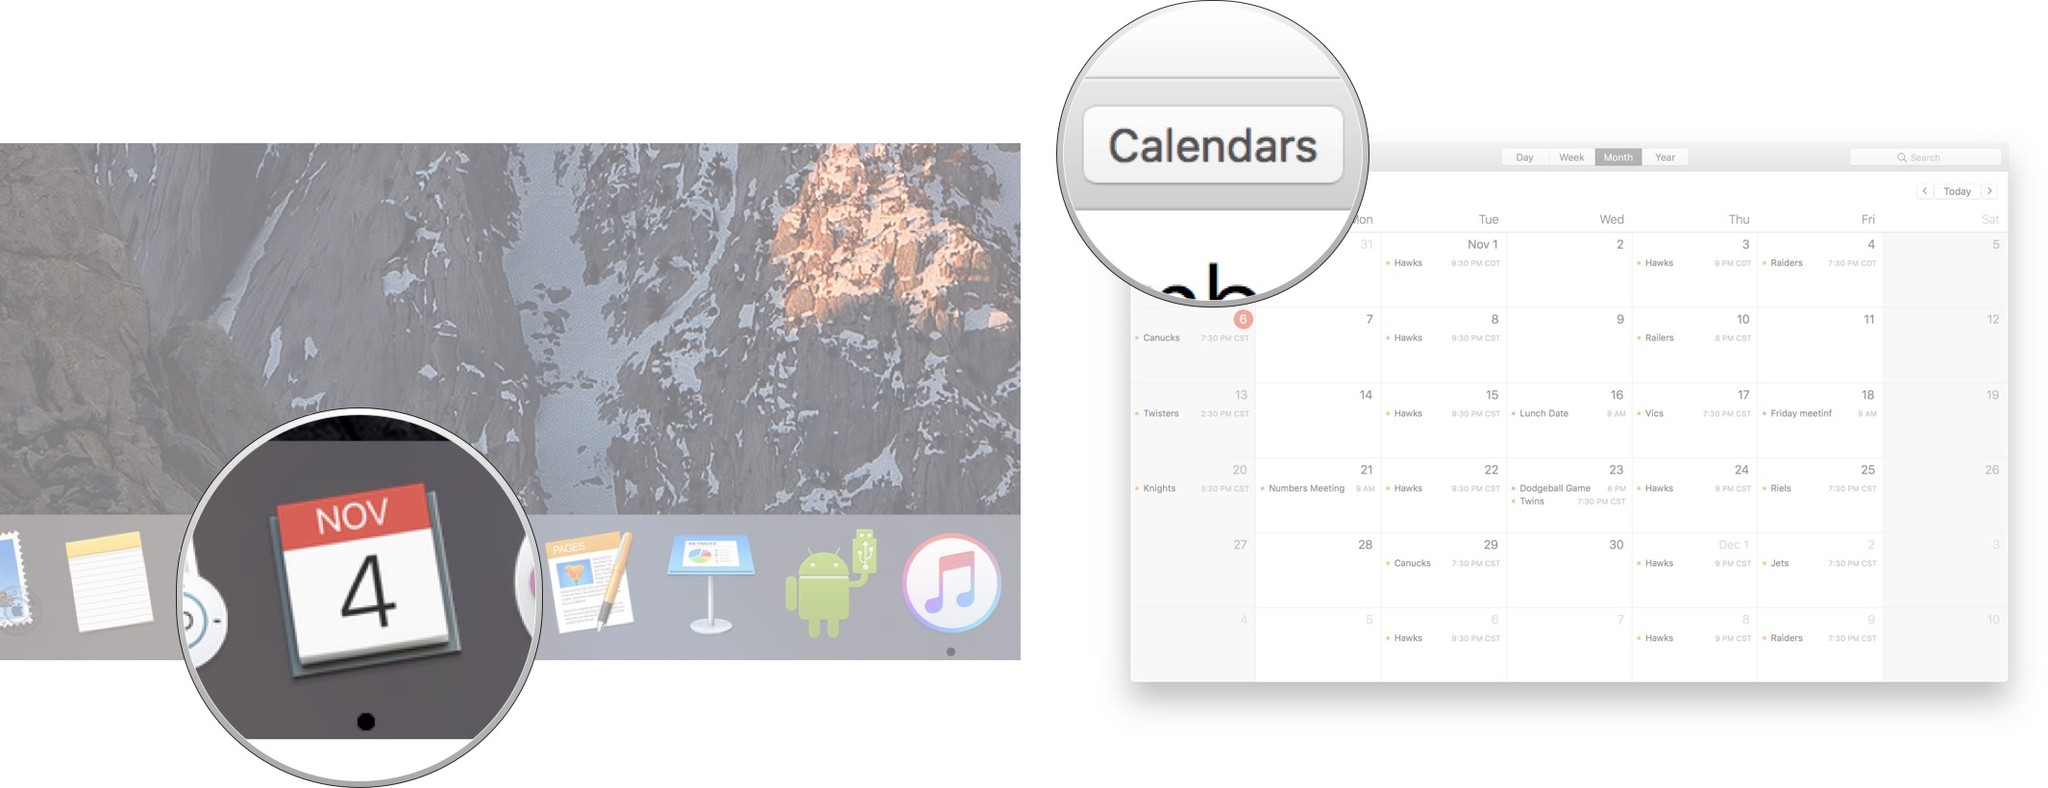
- Launch the Calendar app on your Mac. If it's not on your dock, you can find it in your Launchpad.
-
Click on File up in the menu bar.
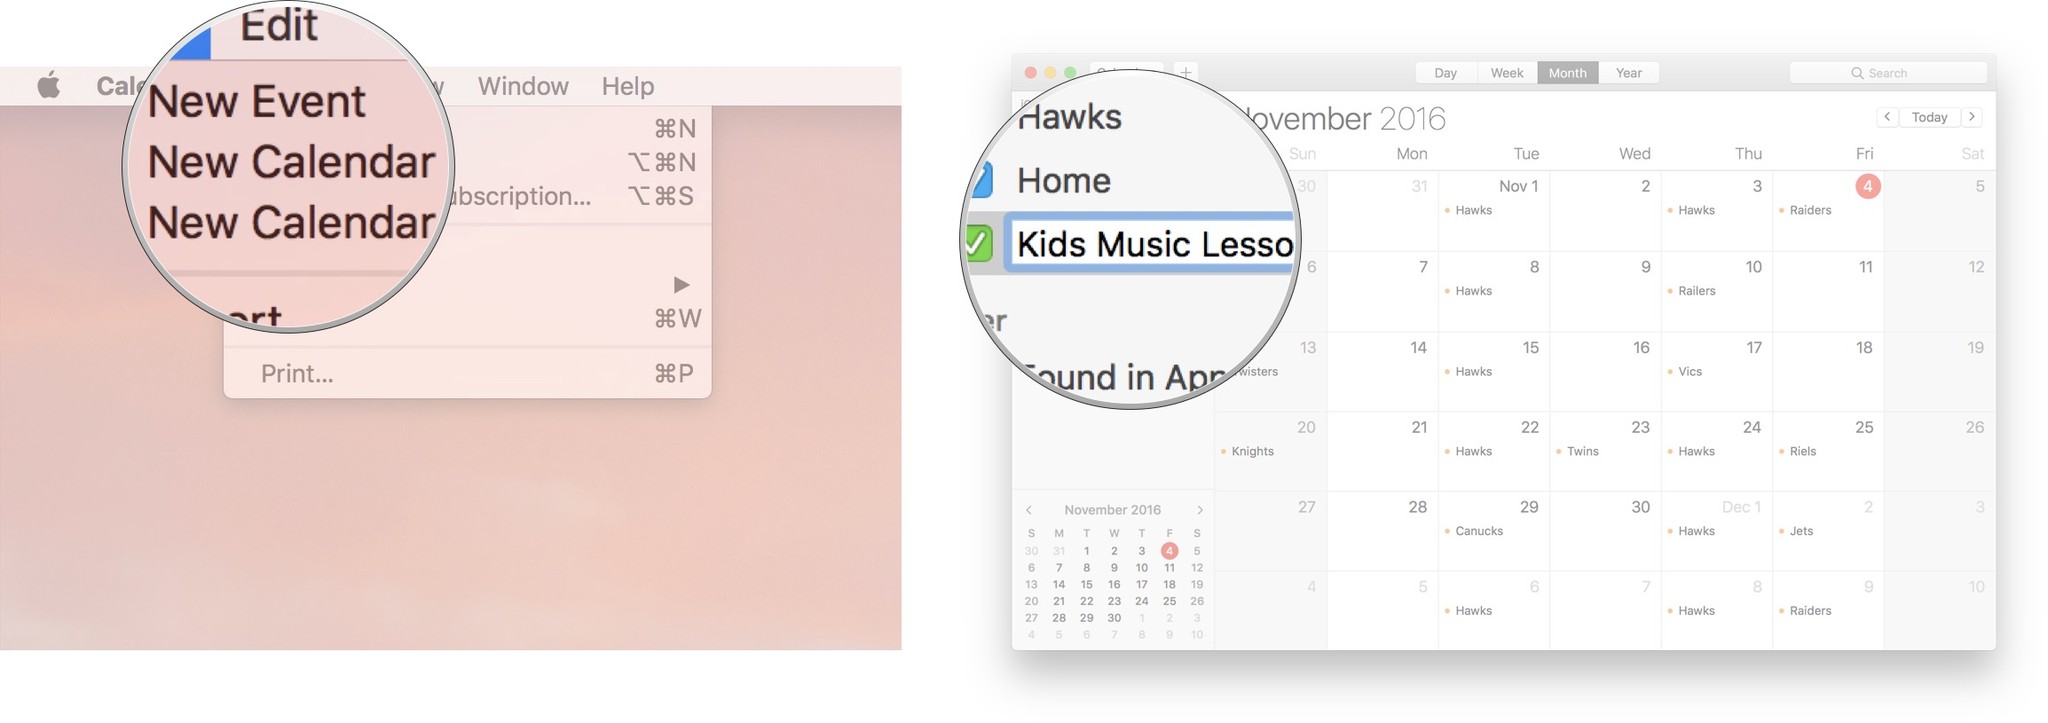
- Click on New Calendar
- Type a name for the Calendar
-
Hit Enter.


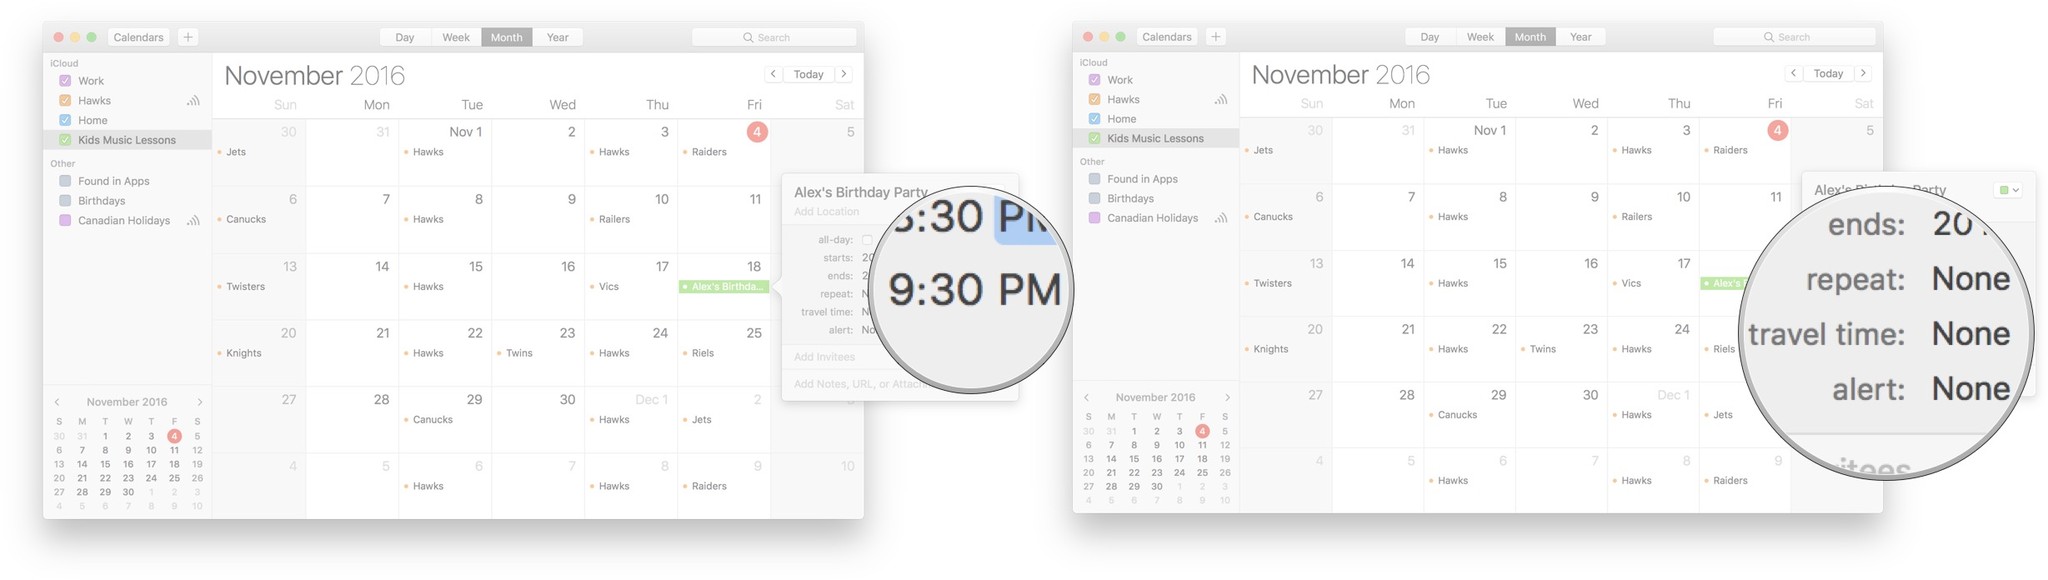
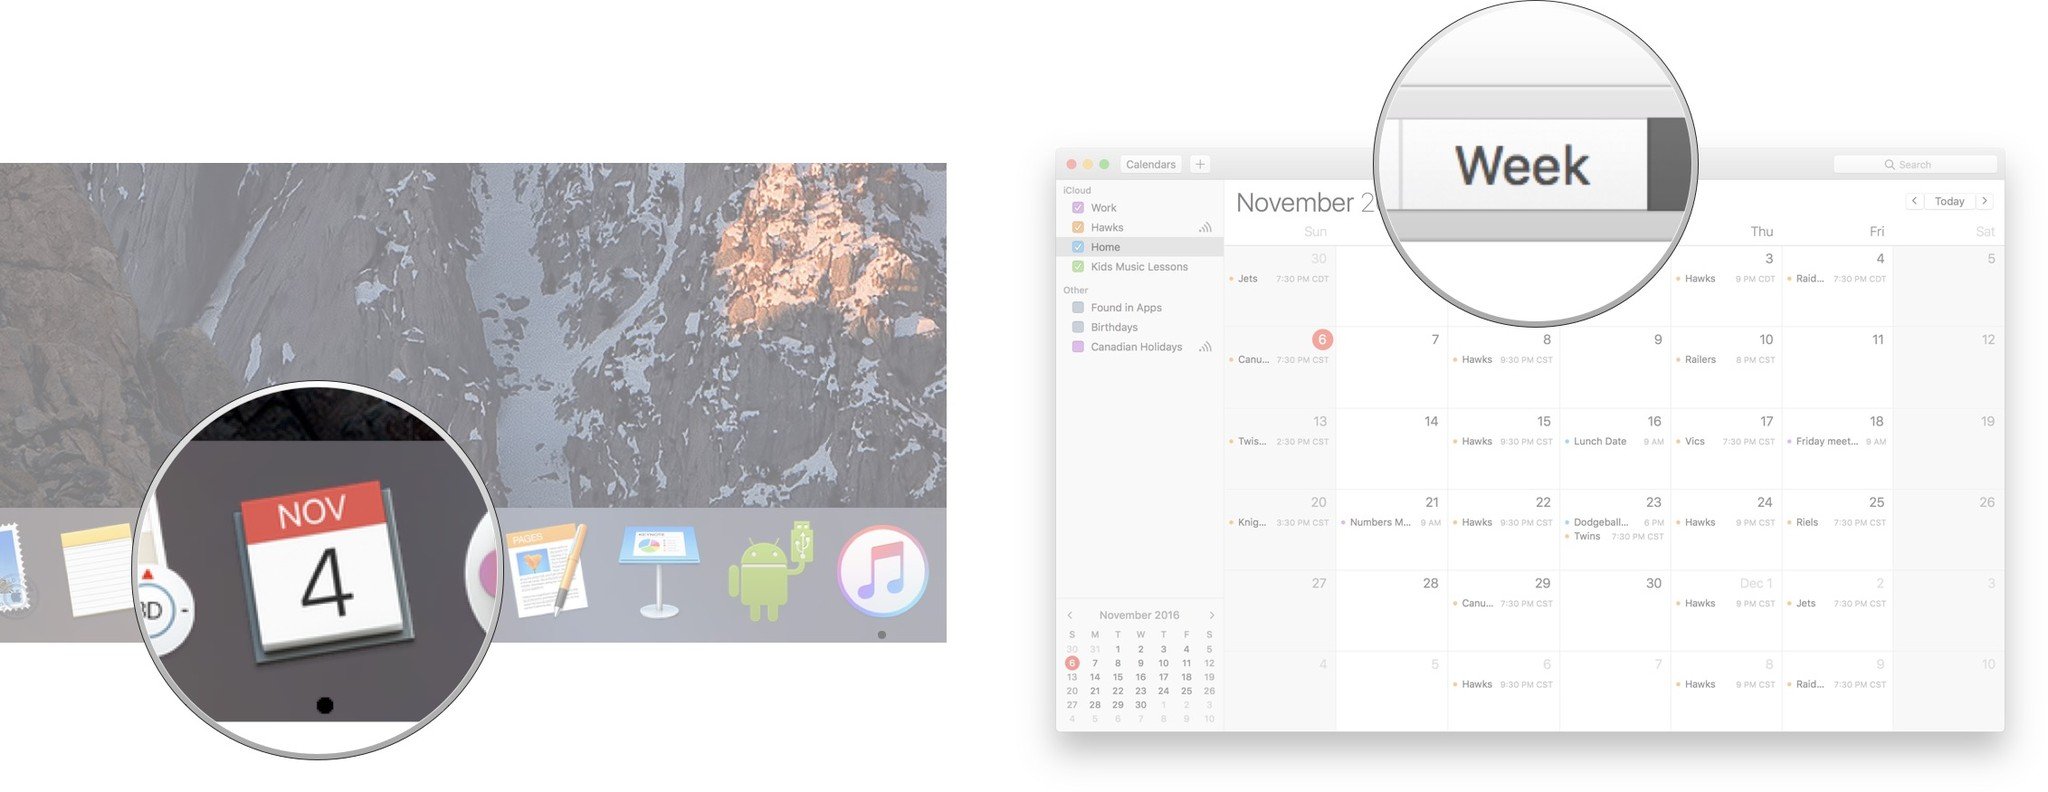
How to add an event to a calendar on Mac
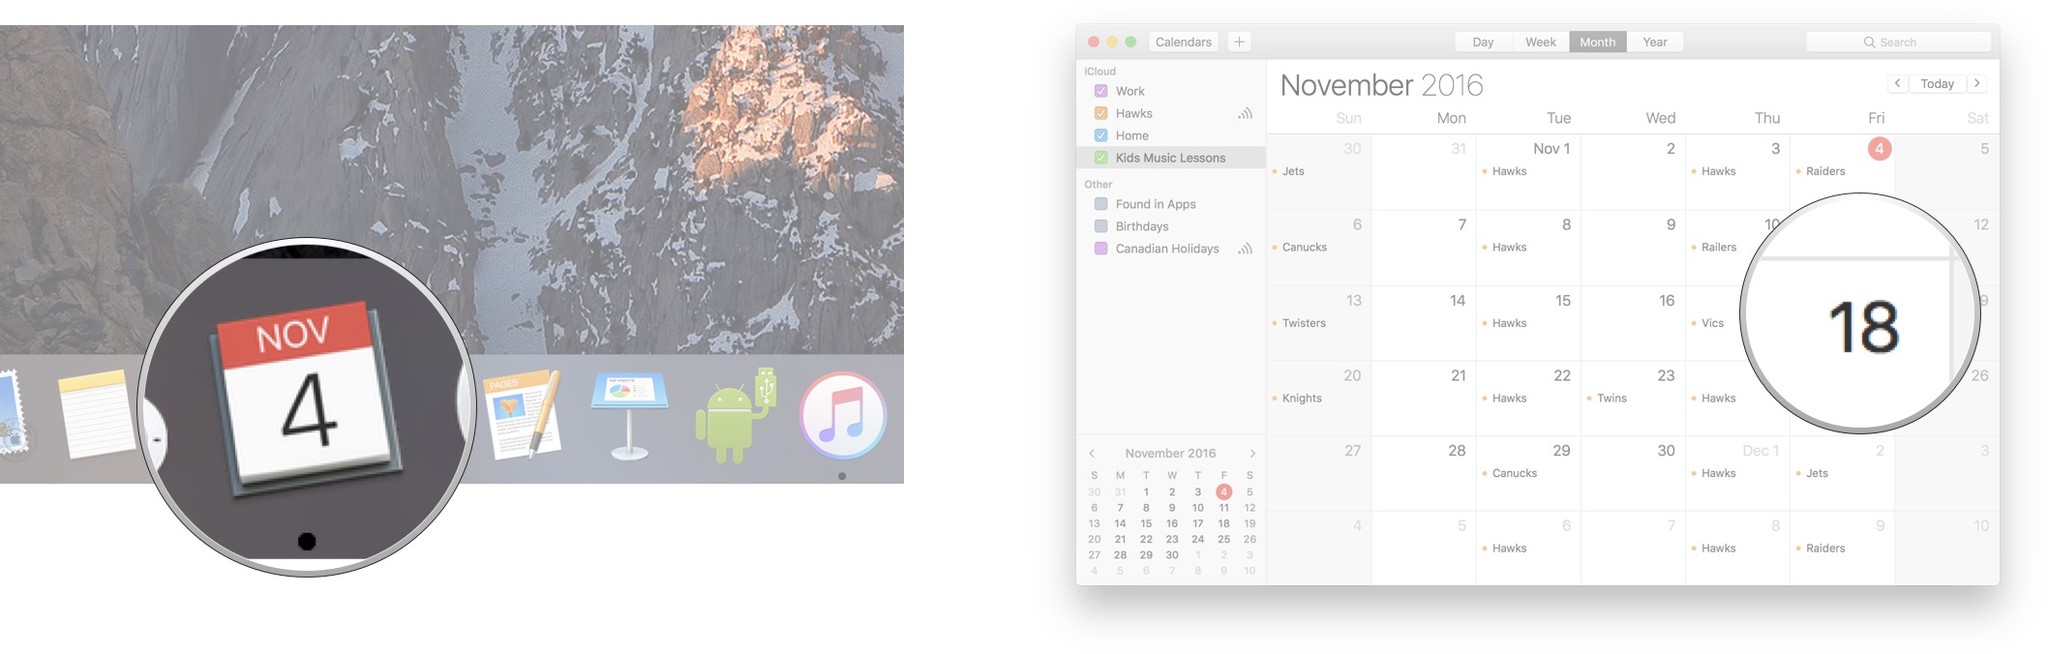
- Launch the Calendar app on your Mac. If it's not on your dock, you can find it in your Launchpad.
-
Double click on the date you want to add an event to.
- Type in a name for the event.
-
Click on the hour, minutes, and AM/PM of the start time and adjust accordingly.
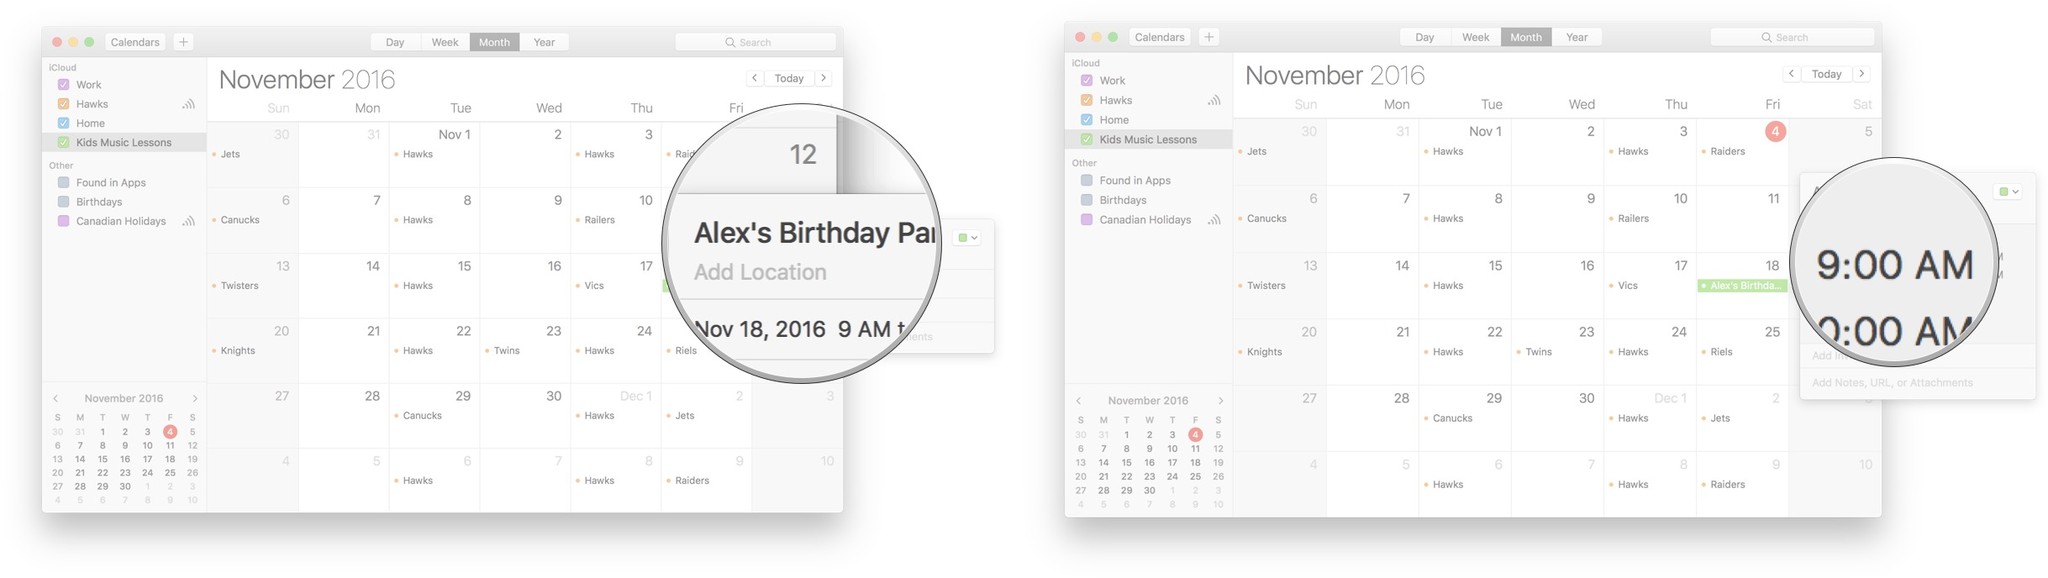
- Click on the hour, minutes, and AM/PM of the end time and adjust accordingly.
- Click on Repeat if you want the event to repeat. This is an optional step.
- Click on Travel time if you want to add a note for yourself of how long it will take you to get there. This is an optional step.
-
Click on Alert if you want to set up notifications for the event. This is an optional step.
- Tap the calendar menu it's the little colored box in the top right corner of the event window.
- Click on the calendar you want the event to be added to.
-
Hit Enter on your keyboard.


How to set days per week and start of week in Calendar on Mac
Depending on how you like to schedule your life, you can modify how the week appears in your calendars. You can change how many days you see when you're in Week View and what day indicates the start of a new week.
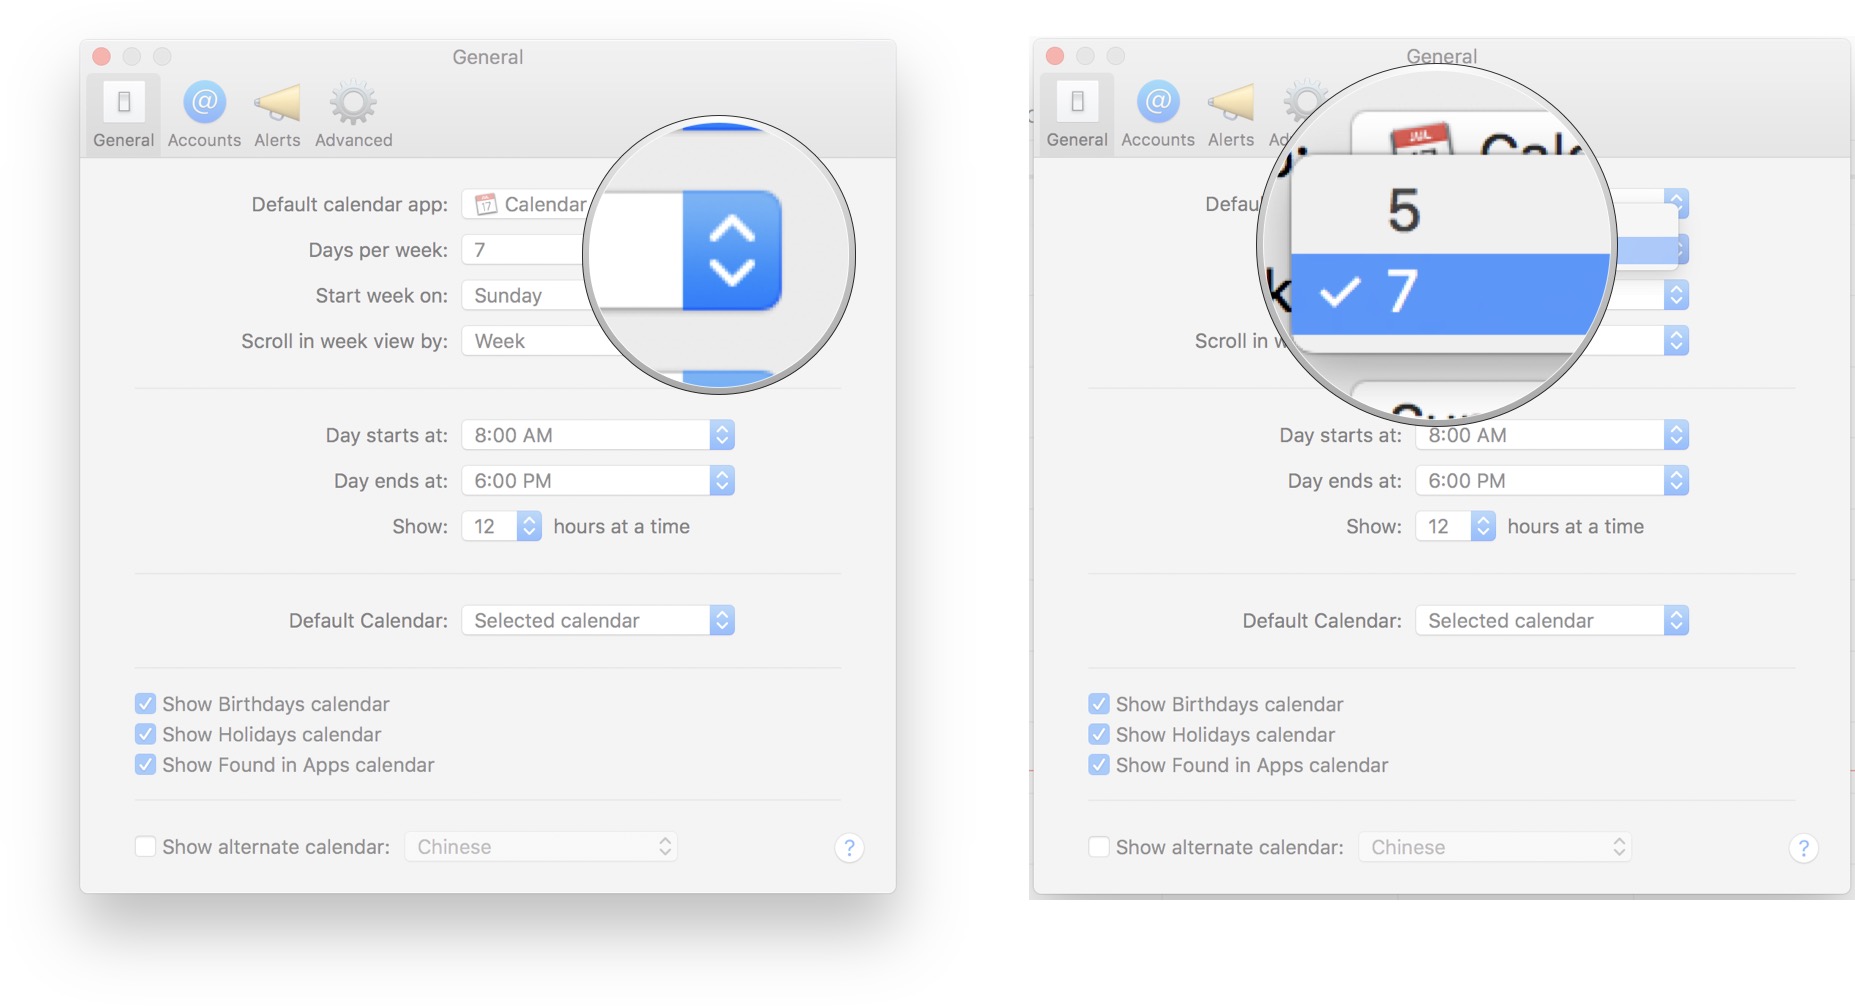
How to set the days per week in week view in Calendar on Mac
- Launch the Calendar app on your Mac. If it's not on your dock, you can find it in your Launchpad.
-
Click the Week tab.
- Click Calendar from the menu bar.
-
Click Preferences.

- Click on the dropdown menu beside Days per week.
-
Click on 5 or 7.


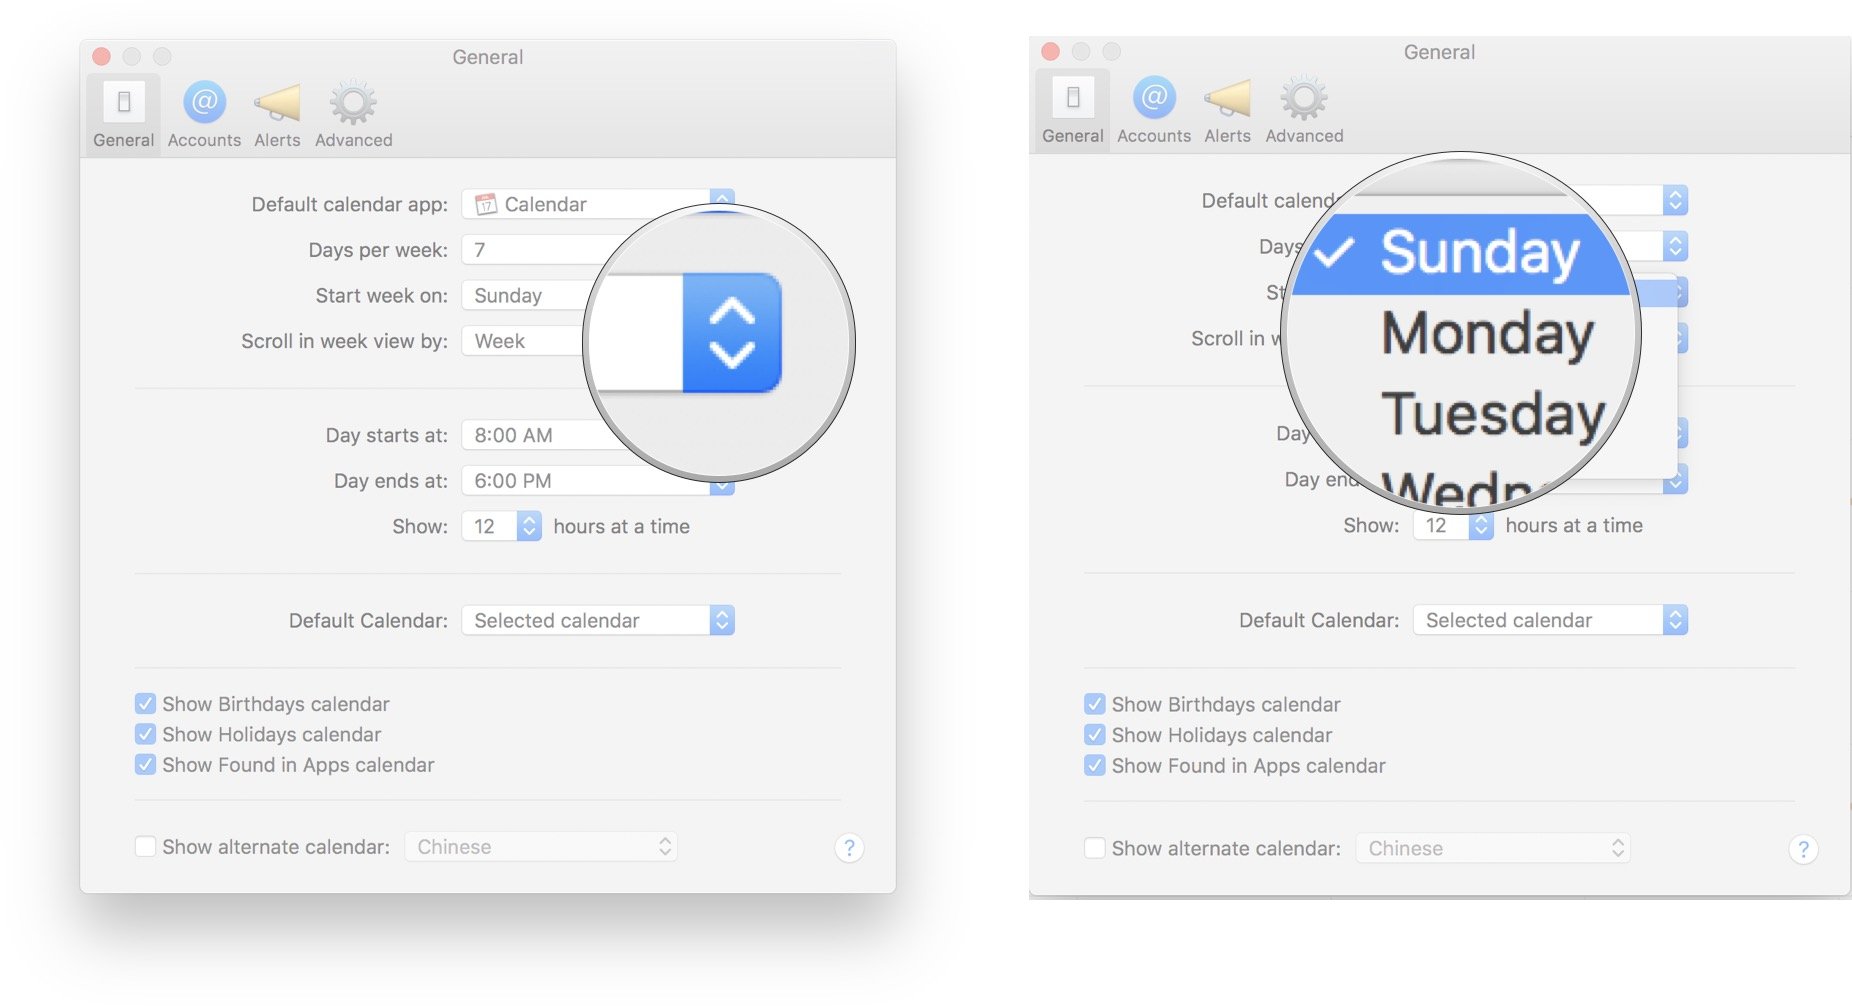
How to change the start of the week in Calendar on Mac
- Launch the Calendar app on your Mac. If it's not on your dock, you can find it in your Launchpad.
-
Click the Week tab.
- Click Calendar from the menu bar.
-
Click Preferences.
- Click on the dropdown menu beside Start week on.
-
Click the day you want to use.

How to set how often Calender refreshes.
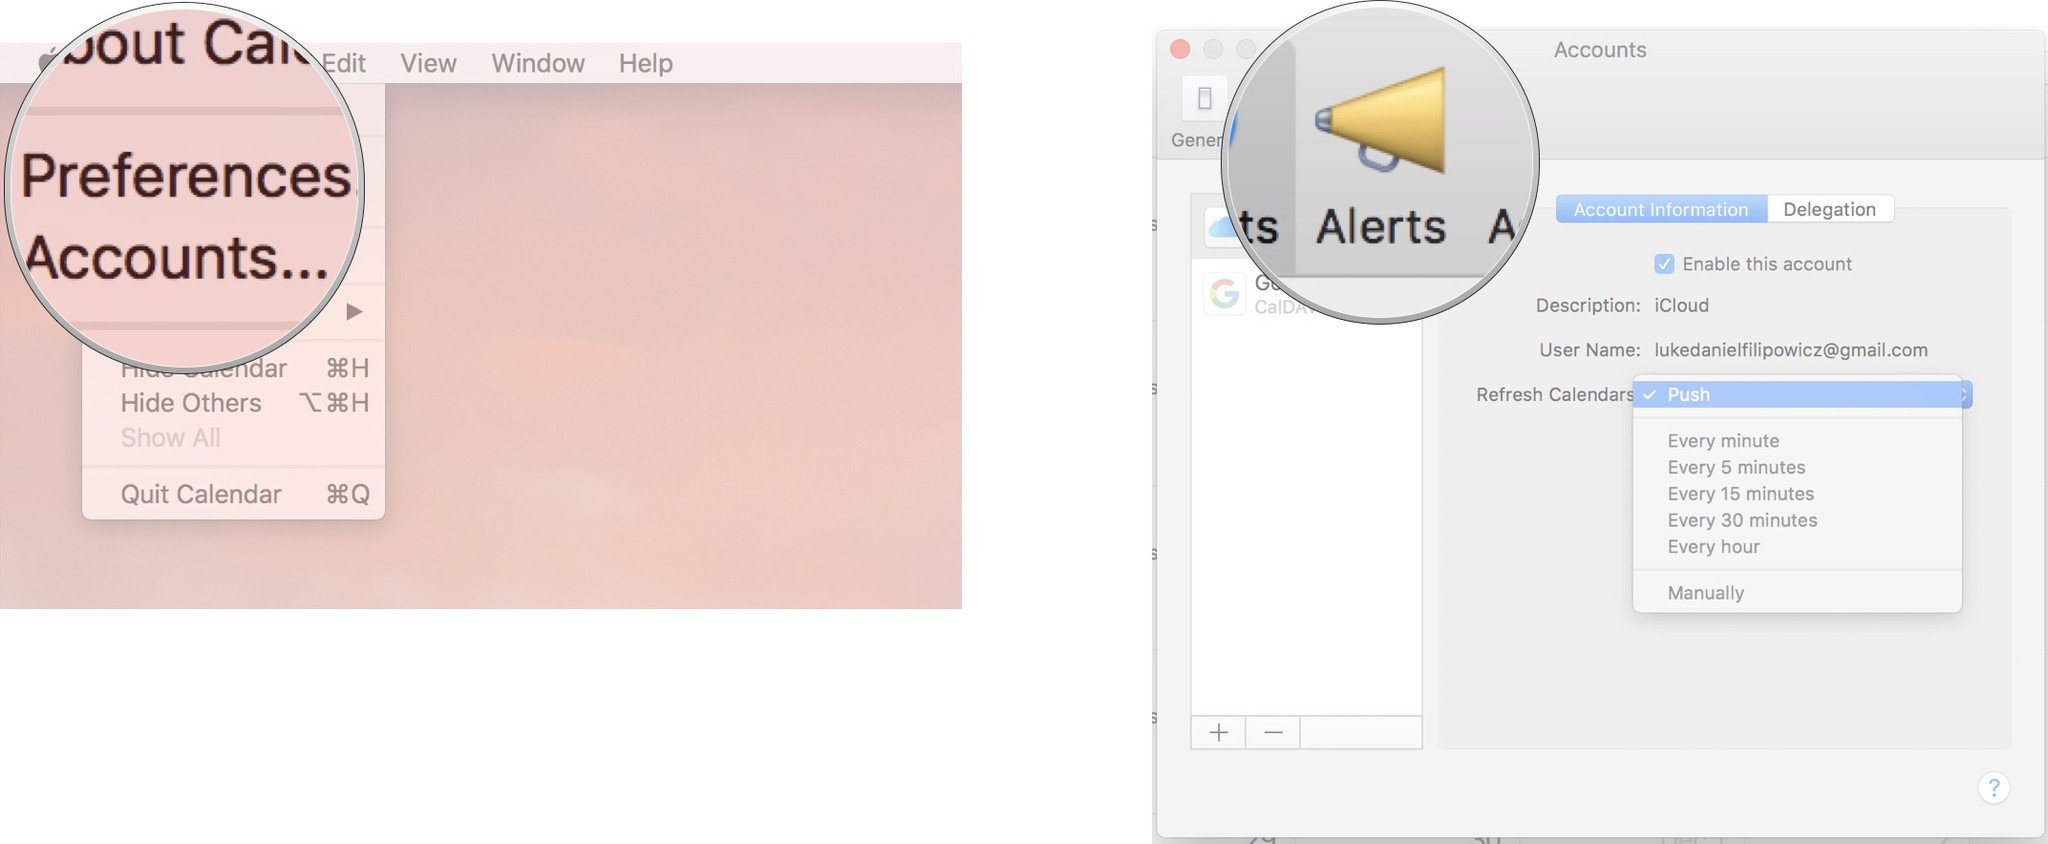
If you want all your calendars across all your device to sync automatically or you'd rather push them manually, you can change the time between refreshes in your preferences.
- Launch the Calendar app on your Mac. If it's not on your dock, you can find it in your Launchpad.
-
Click Calendar from the menu bar.
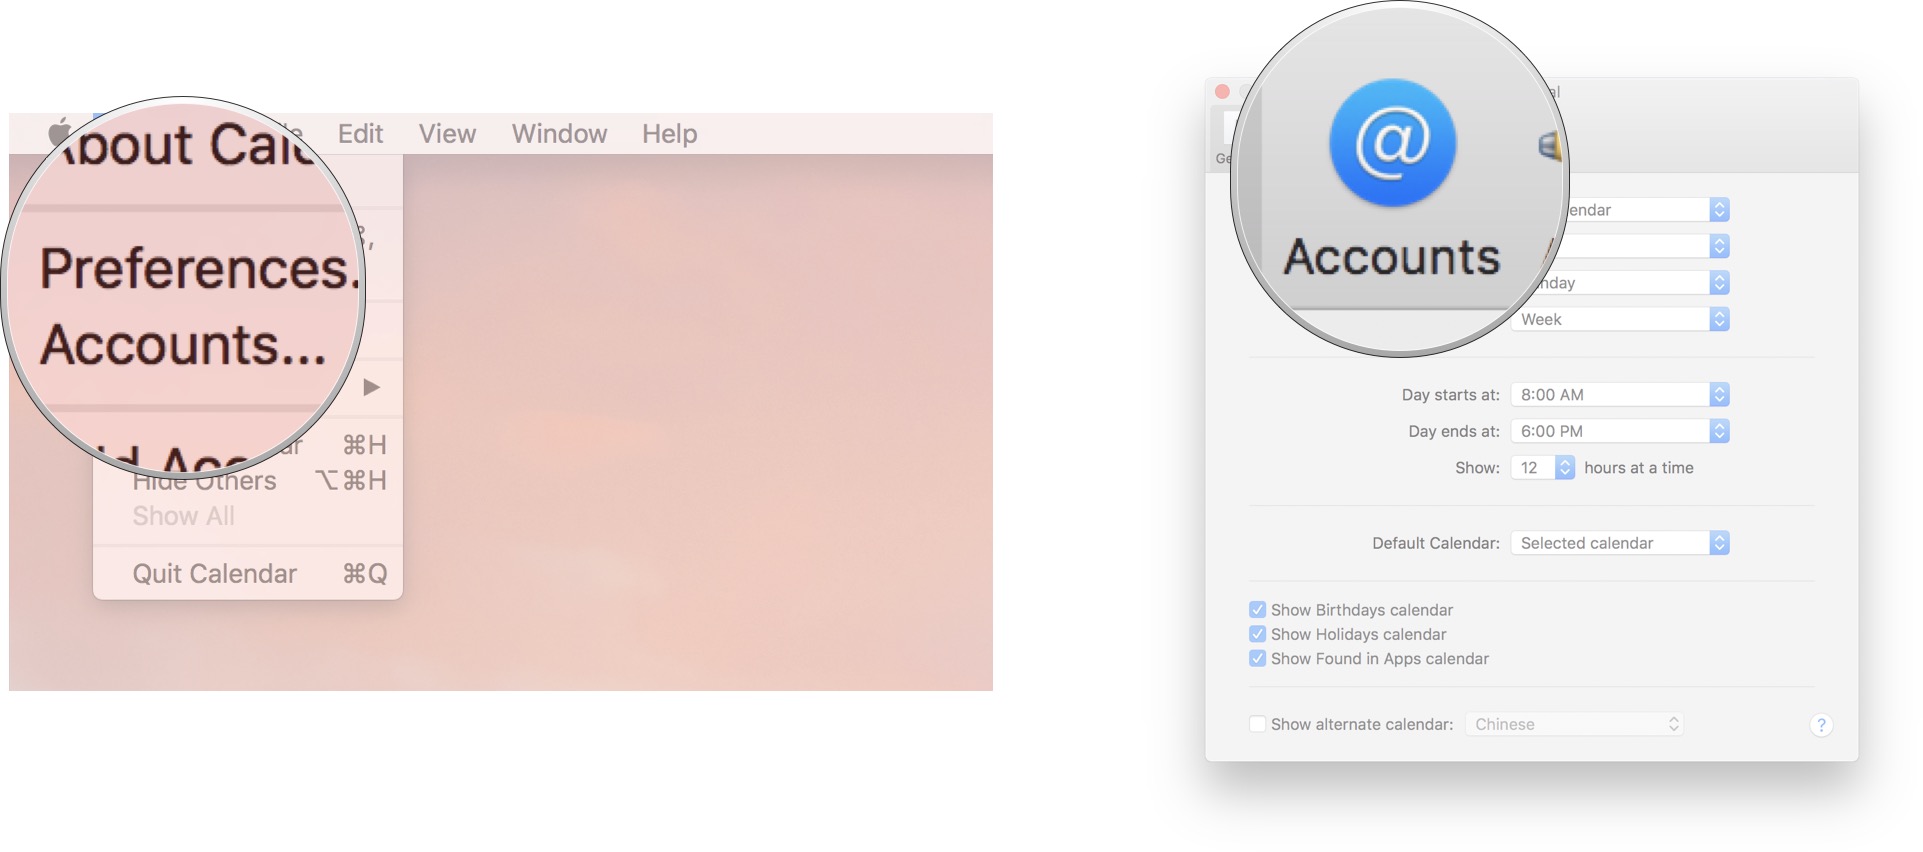
- Click Preferences.
-
Click on the Accounts tab.
- Click on the dropdown menu.
-
Click on the time interval you want.


How to set notifications in Calendar on Mac
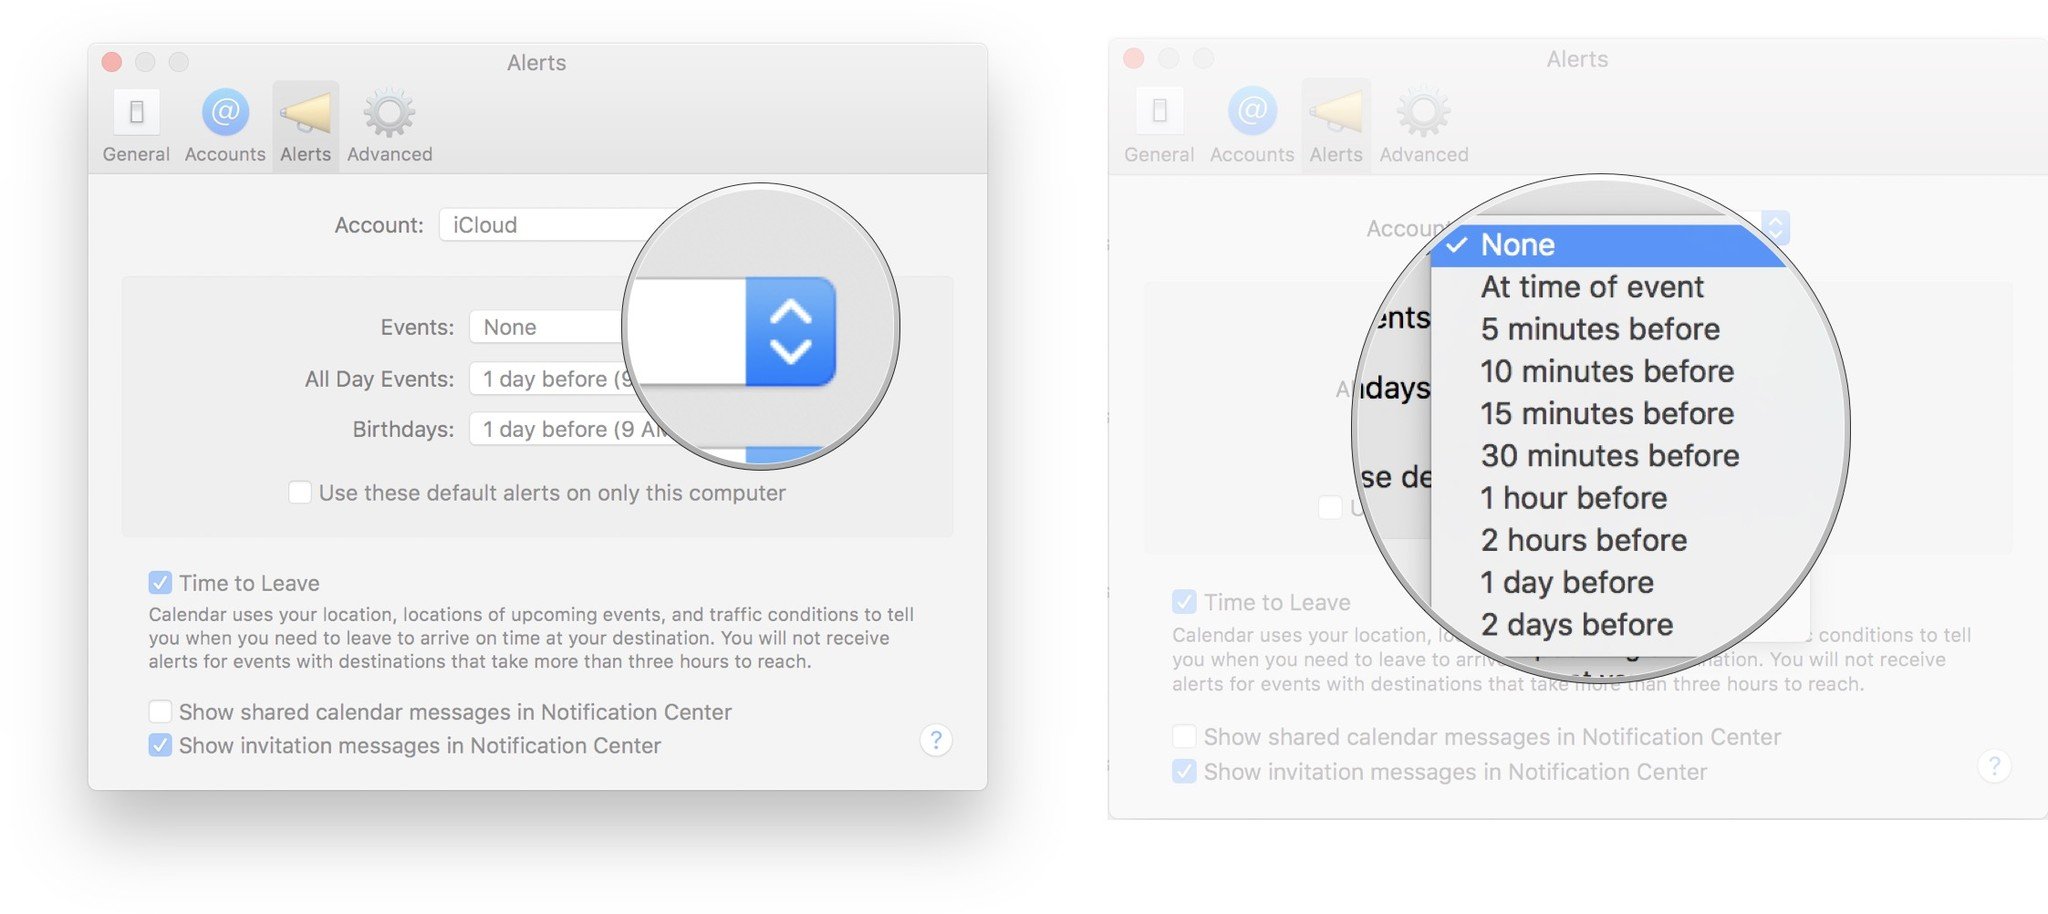
While you can customize alerts for events when you create them, if you want to save yourself some time, you can set all events you create to have default notifications.
- Launch the Calendar app on your Mac. If it's not on your dock, you can find it in your Launchpad.
-
Click Calendar from the menu bar.
- Click Preferences.
-
Click on the Alerts tab.
- Click on the Events dropdown menu.
-
Click on the time you want notifications to alert you.


How to enable and disable calendars on Mac
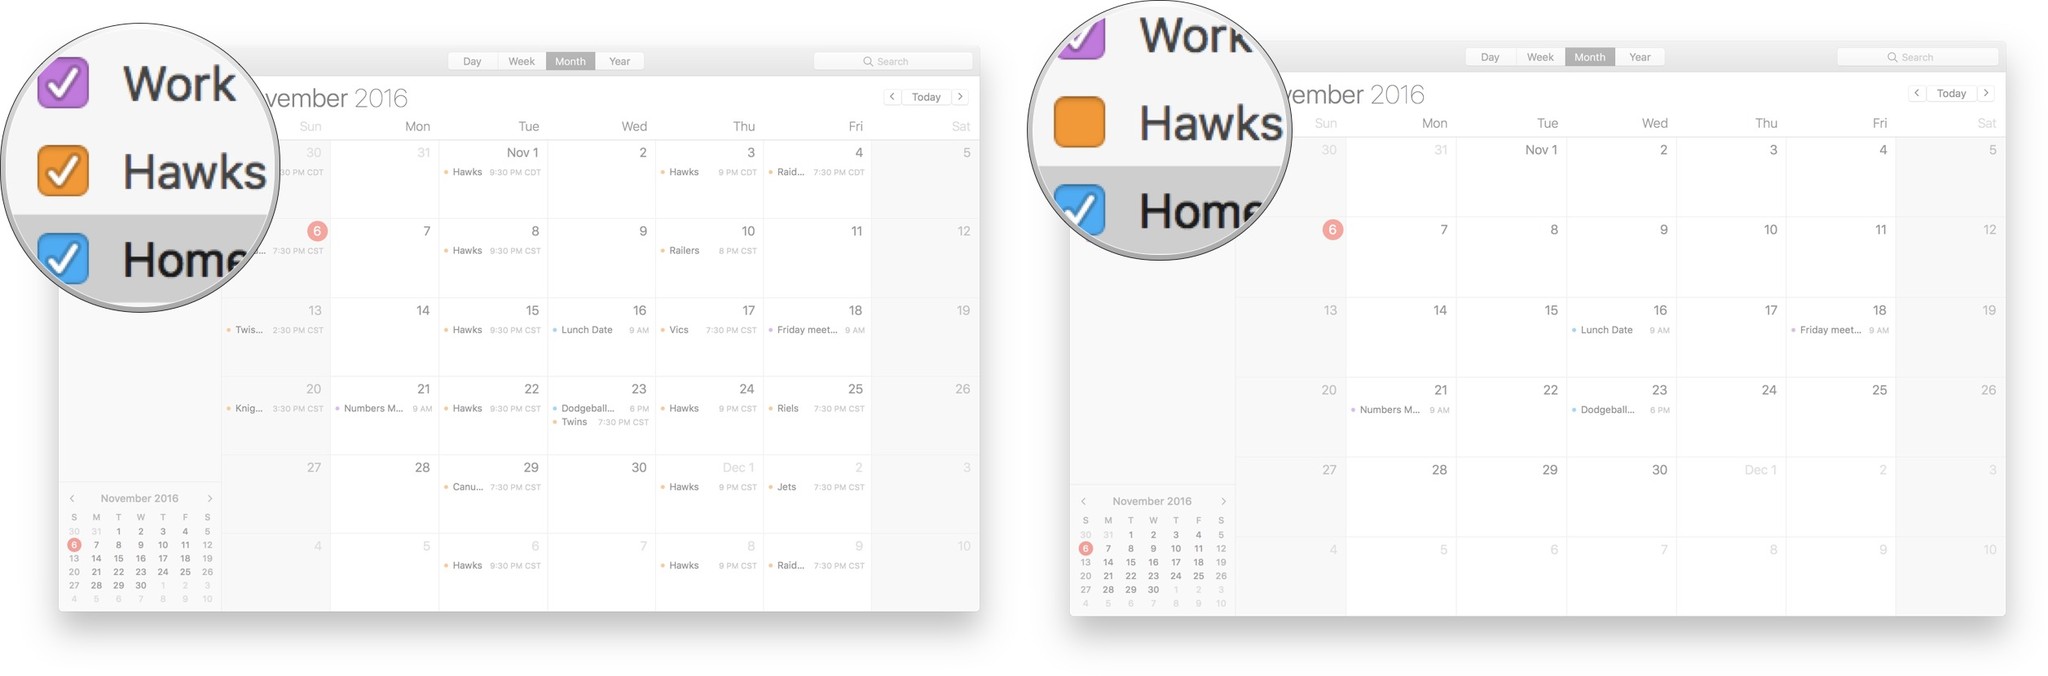
If you want to quickly filter the events you see on your Calendar, you can easily enable or disable the visible calendars whenever you want.
- Launch the Calendar app on your Mac. If it's not on your dock, you can find it in your Launchpad.
-
Click Calendars.
- Click the check box beside the calendar you want to disable.
-
Click the check box again when you want to view that calendar again.


Questions?
Anything else you want to know? Be sure to leave us a comment below.

Rough and ready
Don't worry about dropping your MacBook Pro with these cases
Buying an Apple laptop is a big investment. When you've paid out for a MacBook, you may as well splash out a little more for some decent protection. If you're worried about dings, dents, and cracks in your MacBook Pro, check out the best rugged cases.
Source: https://www.imore.com/how-set-and-start-using-calendar-mac
Posted by: galemoricee0191787.blogspot.com

